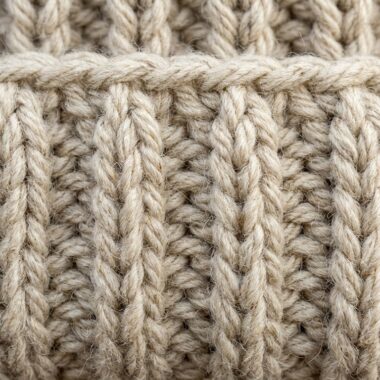
If you want to create a show-stopping crochet project with luxurious weight, rich depth, and a modern boutique look, mastering how to crochet alpine stitch step by step is an essential skill to add to your repertoire. Renowned for its raised diamond relief and cozy thermal thickness, this stunning textured stitch transforms simple yarn into breathtaking heirloom blankets, decorative accent cushions, and chunky winter sweaters.
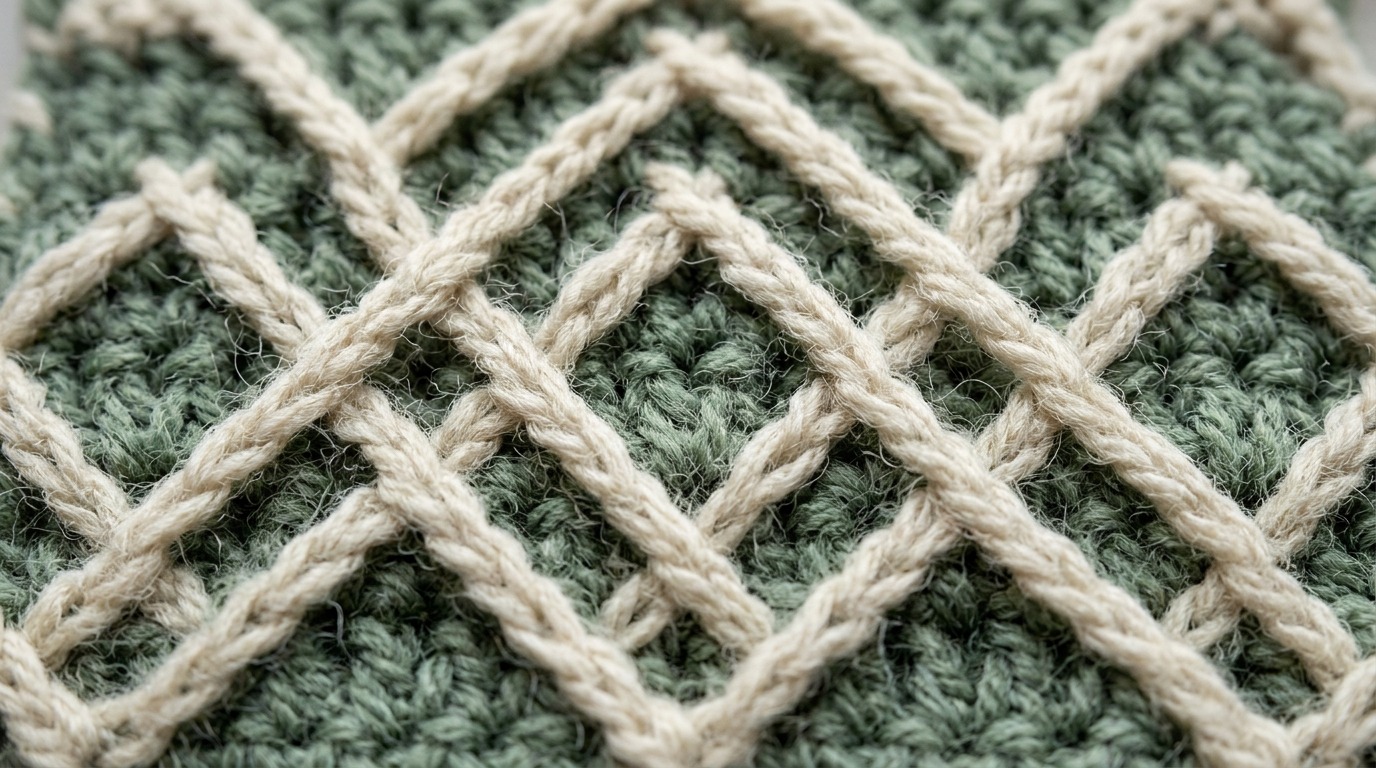
While the intricate zigzag geometry looks like complex knit cables, the alpine stitch is actually built upon an intuitive 4-row repeat combining fundamental single crochets, double crochets, and front post double crochets (FPDC). By dropping your hook down to catch the stem of the double crochet worked two rows below, the elongated post stitch leaps outward from the fabric. Alternating and offsetting these post stitches on subsequent right-side rows creates the mesmerizing diamond pattern with zero stressful counting.
Why You’ll Love This Stitch
- Unrivaled 3D Texture: The overlapping post stitches form an architectural diamond lattice that looks and feels like expensive designer knitwear.
- Substantial Fabric Weight: The double-layered post stitch construction yields a dense, windproof fabric that resists stretching out of shape.
- Easy-to-Read Rhythm: Because you alternate single crochet rest rows on the wrong side with textured post rows on the right side, mistakes are instantly spotted and corrected.
- Lies Wonderfully Flat: Unlike stitch patterns that pull heavily to one side, the symmetrical diamond offsets keep your edges straight and your corners square.
Recommended Materials & Hook Selection

- Worsted Weight Yarn (Category 4): Smooth, plied yarn like 100% merino wool or high-definition acrylic in muted botanical tones (Sage Green and Natural Cream). Smooth yarn with low halo ensures the crisp diamond relief stands out prominently.
- 5.0mm (US H-8) or 5.5mm (US I-9) Ergonomic Wooden Hook: Front post stitches naturally condense the fabric vertically, so using a hook half a millimeter larger than your yarn label recommends maintains plush drape.
- Locking Stitch Markers: Helpful for marking the first and last stitches of each row so your edges stay crisp and straight.
- Tapestry Needle & Sharp Scissors: For weaving yarn ends securely through the wrong-side single crochet channels.
- Optional Leather Craft Tag (‘YumYum’): A debossed leather accent adds an heirloom maker signature to finished afghans and pillows.
Step-by-Step Alpine Stitch Walkthrough
1. Foundation Chain & Row 1: Chain an odd number of stitches (e.g., chain 31 for a practice swatch). Double crochet (DC) in the 3rd chain from your hook and in each chain across (odd number of stitches). Chain 1 and turn.

2. Row 2 (Wrong Side Rest Row): Single crochet (SC) in the very first stitch and in each stitch across. Chain 2 (counts as first DC of next row) and turn.
3. Row 3 (Right Side – First Diamond Texture): The first stitch is accounted for by the turning chain. *Work 1 Front Post Double Crochet (FPDC) around the post of the DC two rows directly below. Work 1 regular DC in the top loops of the next stitch (skipping the SC directly behind the FPDC).* Repeat from * to * across the row, ending with a regular DC in the last stitch. Chain 1 and turn.
4. Row 4 (Wrong Side Rest Row): Work 1 SC in each stitch across. Chain 2 and turn.
5. Row 5 (Right Side – Offset Diamond Texture): Work 1 regular DC in the second stitch. *Work 1 FPDC around the post of the regular DC two rows below, then work 1 regular DC in the next stitch.* Repeat from * to * across, offsetting the diamond pattern. Repeat Rows 2 through 5 for the duration of your project!
3 Pro Secrets for Flawless Alpine Stitches
1. Lift the Working Loop Tall: When drawing up your loop around the post two rows down, pull the hook upward until the loop matches the exact height of your working row. If you pull it tight, the post will yank down on the fabric, causing unsightly curling.
2. Never Stitch into the Hidden SC: When you work a front post double crochet, always skip the single crochet directly behind it on your working row. Working into both will inadvertently increase your stitch count and distort your diamond columns.
3. Steam Block to Unlock Drape: Because post stitches produce a firm, structured fabric, a light touch of steam blocking from the wrong side opens up the yarn plies and gives blankets a soft, buttery hand-feel.
Best Projects to Make with the Alpine Stitch

- Textured Living Room Pillows: Crochet two 16″ x 16″ squares in sage green and cream, seam them around an insert, and attach a leather tag for an upscale boutique statement cushion.
- Heavyweight Winter Throw: Work up a 50″ x 60″ sofa afghan that pairs gorgeously with our boho farmhouse crochet coasters and warm candles.
- Cozy Winter Cardigans & Vests: The structured windproof fabric makes it ideal for durable sweater bodies that retain their tailored silhouette.
- Chunky Winter Cowls: Crochet a 10″ x 30″ loop in bulky wool for an ultra-plush neck warmer alongside our chunky ribbed crochet beanie.
Washing & Project Care Guidelines
- Gentle Laundering: Place textured alpine projects in a large mesh garment bag and wash on gentle cycle in cold water with mild wool detergent.
- Drying Flat: Always dry flat on a clean towel or blocking grid. Never hang wet alpine blankets vertically, as the heavy water weight can stretch the post stitches.
- Storage: Fold loosely and store in a breathable cotton or canvas bag alongside cedar blocks to preserve the wool fibers season after season.
Classic Crochet Alpine Stitch Master Pattern
By Elena Hayes • Category: Stitch Guides & Tutorials • Skill Level: Easy / Advanced Beginner
Materials & Tools
- Worsted weight yarn in desired color (sample uses Sage Green & Cream)
- 5.0mm ergonomic wooden crochet hook
- Tapestry needle & sharp scissors
- Locking stitch markers
Pattern Abbreviations (US Terms)
ch: chain | sc: single crochet | dc: double crochet | fpdc: front post double crochet (2 rows below) | st(s): stitch(es) | sk: skip
Written Pattern Instructions
- Foundation: Chain an odd number of stitches (e.g., 31 chains).
- Row 1: DC in 3rd ch from hook and each ch across. Ch 1, turn. (Odd number of sts)
- Row 2 (Wrong Side): SC in each st across. Ch 2, turn.
- Row 3 (Right Side): *FPDC around DC 2 rows below, DC in next st (skipping SC behind FPDC).* Repeat across, ending with DC in last st. Ch 1, turn.
- Row 4 (Wrong Side): SC in each st across. Ch 2, turn.
- Row 5 (Right Side): DC in 2nd st. *FPDC around DC 2 rows below, DC in next st.* Repeat across, ending with DC in last st. Ch 1, turn.
- Repeat: Repeat Rows 2–5 until desired dimensions are reached. Fasten off and block lightly.
Frequently Asked Questions
What is the stitch multiple for the alpine stitch?
The alpine stitch requires an odd number of stitches in your foundation row (for example: chain 31, 45, or 121 stitches). This allows the front post stitches and regular double crochets to alternate symmetrically.
Why is my alpine stitch piece curling inward?
Curling happens when you pull the front post double crochet loops too tightly. Be sure to pull the working loop all the way up to match the height of your current row, and use a hook half a millimeter larger if your tension is naturally tight.
Is the alpine stitch reversible?
The right side features the dramatic raised 3D diamond relief, while the wrong side features smooth, flat single crochet bars that resemble horizontal rows. While not identical on both sides, the wrong side looks tidy and finished.
Pin This Tutorial for Later
Ready to add breathtaking texture to your next project? Save this step-by-step alpine stitch tutorial pin to your crochet board on Pinterest!