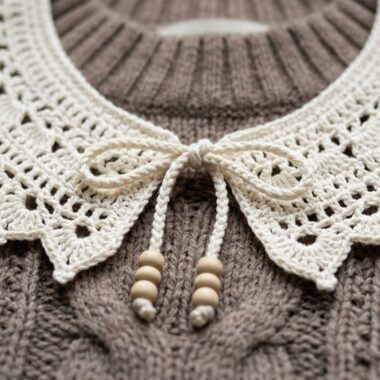
Whether you are channeling the viral coquette aesthetic, styling delicate handmade hair clips, or looking for reusable artisan gift toppers for the upcoming holiday season, learning how to crochet a bow is one of the most versatile skills any maker can possess. Requiring zero shaping experience and taking less than 10 minutes from start to finish, this beginner-friendly tutorial guides you through crafting a crisp, structured rectangular swatch and transforming it into a darling dimensional bow with a neat cinched center.
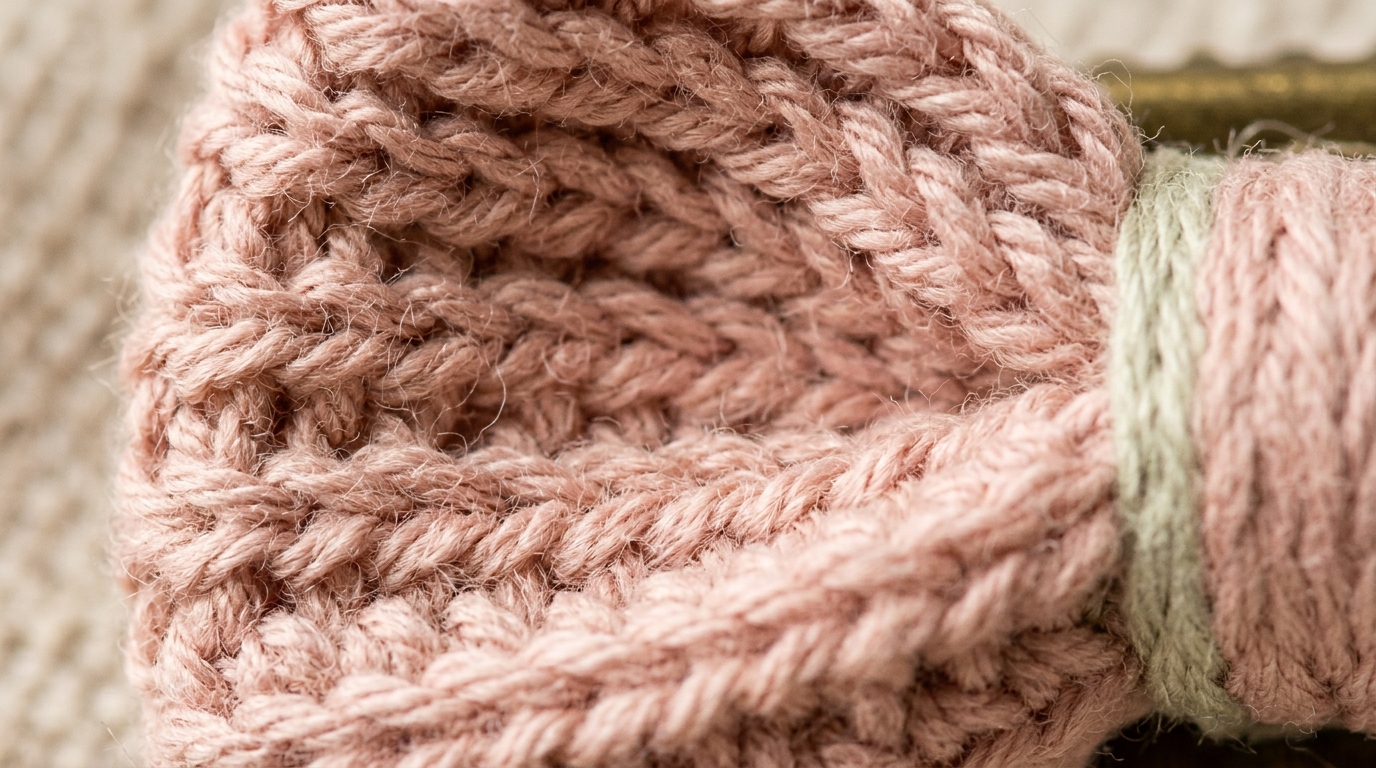
The beauty of this project lies in its sheer simplicity. Instead of juggling difficult increases or working in awkward tight spirals, the entire bow body is worked as a flat, simple rectangle using basic crochet stitches. By utilizing the back loops only (BLO) or half double crochets, you create subtle textural ridges that mimic classic grosgrain ribbon. Once pinched into an accordion pleat and wrapped firmly with a contrasting or matching center band, the rectangle blooms into a perky, symmetrical bow that holds its crisp shape indefinitely.
Why You’ll Love This 10-Minute Crochet Bow
- Instant Gratification in 10 Minutes: Work up an entire rainbow of bows in a single afternoon session without pattern fatigue.
- Zero Waste Scrap Yarn Buster: Uses a mere 15 to 20 yards of leftover yarn, making it the ultimate way to utilize precious fiber remnants.
- No Complex Shaping Required: Ideal for absolute beginners who have just mastered chain stitches and basic single crochet rows.
- Countless Creative Applications: Glue onto alligator hair clips, sew onto baby beanies, fasten onto dog collars, or hang as eco-friendly Christmas tree ornaments.
Materials & Sizing Specs

- Yarn: Approx. 15–20 yards of Medium Worsted Weight (#4) Cotton Yarn in Blush Pink, Cream, Sage Green, or Rust. Cotton is strongly recommended over acrylic because its natural structure prevents the bow loops from flopping or losing their crisp pleats over time.
- Crochet Hook: US Size G-6 (4.0 mm) ergonomic crochet hook.
- Hardware: 1.75-inch (4.5 cm) metal alligator hair clips or snap barrettes, plus a small drop of hot craft glue or fabric adhesive.
- Notions: Tapestry needle and sharp yarn snips.
- Finished Dimensions: Standard size measures approx. 3.75 inches (9.5 cm) wide by 2.5 inches (6.3 cm) tall. Easily customizable by chaining more or fewer stitches!
- Skill Level: Absolute Beginner.
Step-by-Step Bow Walkthrough

Part 1: Crocheting the Base Swatch
Worked flat in turning rows:
Foundation Chain: Ch 21 loosely.
Row 1: Sc in the 2nd ch from hook and in each chain across. Turn. (20 sts)
Row 2: Ch 1 (does not count as st), sc in the Back Loops Only (BLO) of each st across. Turn. (20 sts)
Note: Working in the back loops creates distinctive horizontal ridges that give your bow an authentic ribbed ribbon texture!
Rows 3–10: Repeat Row 2 until your rectangle measures approximately 5 inches wide by 2.5 inches tall across 10 completed rows.
Fasten off with a clean invisible join, leaving a 12-inch tail, and weave in only the starting tail neatly on the back side.
Part 2: Pinching the Accordion Pleats
Lay your rectangle flat horizontally with the ribbed texture facing up:
1. Find the exact horizontal center of the swatch.
2. Fold the top edge down towards the center, then fold the bottom edge up, creating a classic three-tier “accordion” or “W-fold” pinch in the middle.
3. Hold the pinch tightly between your thumb and index finger. Verify that both side loops are equal in fullness and depth before wrapping.
Part 3: The Center Cinched Wrap
You have two stylish options for securing the center pinch:
Option A (Clean Yarn Wrap): Take your 12-inch working yarn tail (or cut a new 24-inch piece for an extra plush band). Wrap the yarn firmly around the pinched center 12 to 15 times, ensuring each wrap lays flat and snug beside the previous wrap. Thread the tail onto your tapestry needle, push the needle under the wraps from back to front, and tie a secure hidden knot on the back.
Option B (Crocheted Center Collar): Ch 7. Sc in 2nd ch and across (6 sts). Work 2 more rows of sc (6 sts across 3 rows). Fasten off, wrap this mini band around the pinched center, and whipstitch the two short ends together on the back side of the bow.
Part 4: Attaching the Hair Clip or Backing
To mount onto an alligator hair clip: Open the metal clip and slide the top prong directly under the back yarn wraps of your bow. For permanent security, apply a small drop of hot craft glue or clear fabric glue between the metal clip and the yarn wraps, pressing firmly for 15 seconds until cured.
3 Pro Tips for Crisp, Structured Bows
1. Use 100% Unmercerized or Mercerized Cotton: Cotton fibers possess natural stiffness and memory, preventing your bow from sagging or drooping after being worn in hair or tossed into bags.
2. Drop Hook Size for Tight Fabric: If your stitches feel loose, drop down a half millimeter (to 3.5mm). Tight tension ensures the bow retains its crisp sculptural silhouette.
3. Light Steam Pressing Before Pinching: Give your flat rectangle a quick burst of steam with an iron or garment steamer before folding. This relaxes the edges, making the center pinch effortlessly crisp and clean.
Aesthetic Styling & Gift Ideas

- Coquette Half-Up Hair Styles: Clip above a half-up ponytail or messy bun for a romantic, vintage-inspired look.
- Holiday Present Packaging: Secure a bow onto kraft paper gift boxes with natural baker’s twine for heirloom, zero-waste present toppers.
- Garlands & Tree Ornaments: Attach a simple loop of jute twine to hang a dozen miniature bows along holiday evergreen garlands or nursery bunting.
Care & Storage Guidelines
- Cleaning: Spot clean lightly with a damp washcloth and mild detergent. Air dry flat to retain shape.
- Storage: Store flat in a jewelry drawer or clip onto a ribbon wall strip to protect the loops from being crushed.
Frequently Asked Questions
Can I add dangling ribbon tails to this crochet bow?
Absolutely! Before wrapping the center, cut two 6-inch lengths of yarn or ribbon, or crochet a simple strip (Ch 25, sc in each ch across), fold it in half into an inverted “V”, and place it against the back of the pinched center before securing your wraps.
How do I make a giant oversized bow for holiday wreaths?
Use chunky or super bulky blanket yarn (#6) with an 8.0mm hook, chain 31 stitches, and work 16 rows. This yields a fabulous 8-inch oversized statement bow perfect for front door wreaths!
Can I make this bow using double crochet instead of single crochet?
Yes! Working in double crochet produces a softer, more relaxed drape and finishes in just 4 rows, making it even faster to crochet.
Pin This Pattern for Later
Love this quick 10-minute project? Save this pin to your Crochet Accessories & Beginner Patterns board on Pinterest so you have the tutorial whenever you need a fast gift!