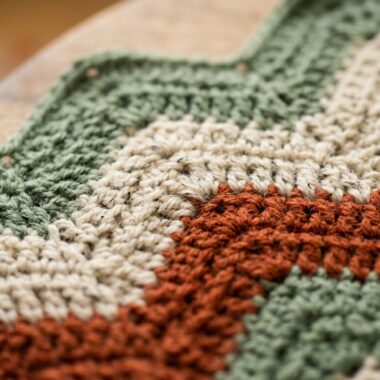
As autumn leaves begin to drift and temperatures cool, nothing captures the cozy, whimsical charm of woodland cottagecore aesthetic quite like handmade fiber mushrooms. Whether clustered along a rustic wooden fireplace mantel, tucked into seasonal centerpiece bowls beside pinecones and acorns, or styled on kitchen open shelving, this cute crochet mushroom pattern brings rich earthy warmth to your fall decor. Working up in just 25 minutes using small amounts of worsted cotton yarn, this beginner-friendly tutorial guides you through crafting a plump, domed crimson or terracotta cap with embroidered cream spots and a sturdy, self-standing stem.
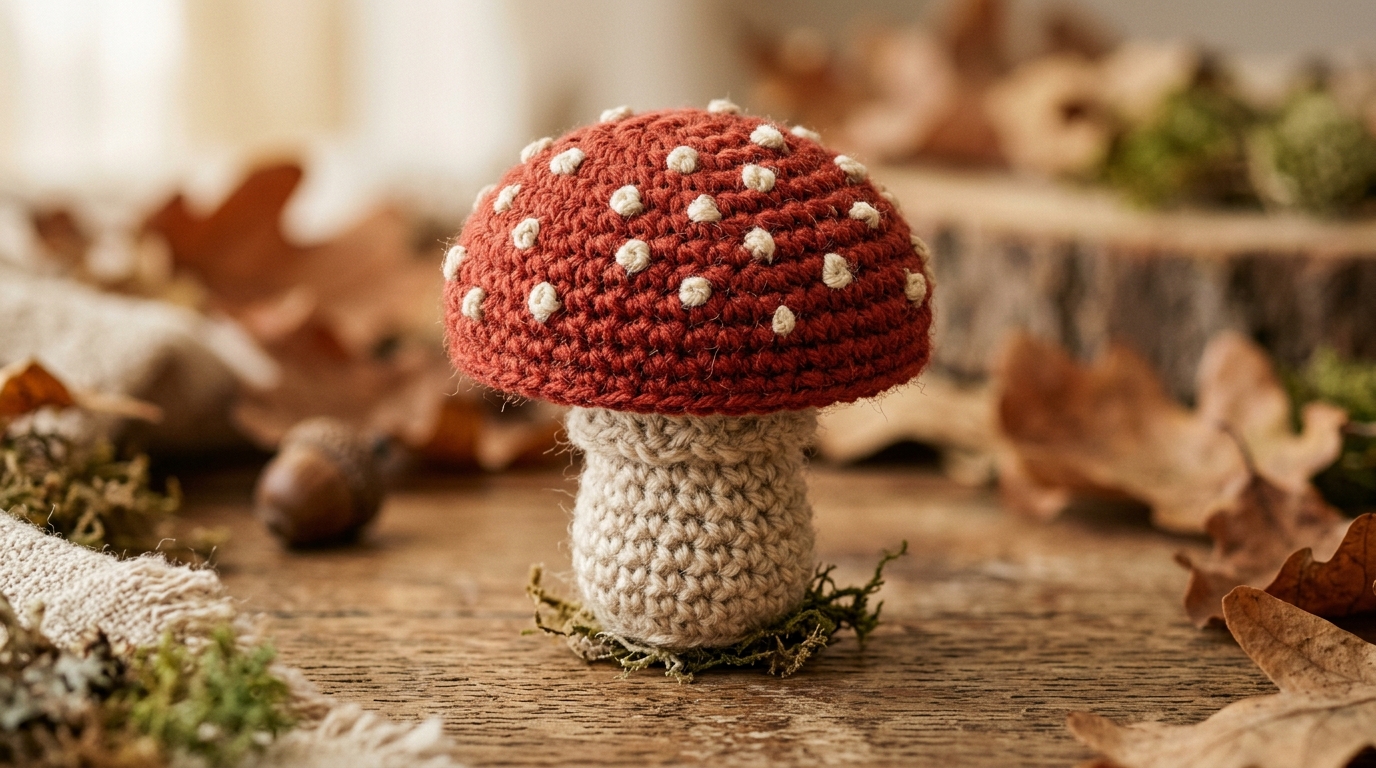
Unlike flimsy flat appliques, this 3D amigurumi mushroom features an ingenious two-piece construction: an upper domed cap paired with an undercut flat gill base that secures firmly onto a weighted, flared stem. Adding a small handful of dried lentils or poly-pellets inside the stem base provides satisfying ballast, allowing your finished mushrooms to perch securely upright without toppling over on shelves, tiered trays, or coffee tables.
Why You’ll Love This Fall Mushroom Pattern
- Quick 25-Minute Project: Perfect for instant-gratification crafting, batching multiple mushrooms in a single evening, or preparing craft fair stock.
- The Ultimate Fall Stash Buster: Uses less than 40 yards of scrap yarn total, ideal for utilizing leftover skeins of terracotta, mustard, rust, and oatmeal.
- Self-Standing Weighted Base: Smart base shaping ensures each woodland mushroom stands independently on tabletops, books, and window sills.
- Endless Styling Versatility: Cluster on tiered trays, string into an autumn woodland garland, or add a jute loop for organic tree ornaments.
Materials & Sizing Specs

- Yarn: Approx. 25 yards of Medium Worsted Weight (#4) Cotton Yarn in Terracotta Red or Mustard Yellow (Cap Color), and 15 yards in Oatmeal Cream or Linen (Stem & Gill Color). Cotton provides crisp, firm stitch definition that holds its geometric dome shape without sagging.
- Crochet Hook: US Size E-4 (3.5 mm) ergonomic crochet hook. Downsizing from standard 5.0mm ensures tight, gap-free stitches that keep polyfill completely invisible.
- Stuffing: Polyester polyfill fiber stuffing, plus 1 tablespoon of plastic poly-pellets or clean dried beans for weighting the base.
- Notions: Locking stitch markers to track continuous rounds, large tapestry needle, and sharp craft scissors.
- Finished Dimensions: Approx. 3.5 inches (9 cm) tall by 2.75 inches (7 cm) in diameter across the cap. Sizing can be customized by altering round counts or swapping yarn weights.
- Skill Level: Easy Beginner (worked in continuous rounds).
Step-by-Step Mushroom Walkthrough

Part 1: The Domed Toadstool Cap
Using Terracotta Red or Warm Mustard yarn, worked in continuous spiral rounds:
Round 1: Make a Magic Ring. Ch 1, work 6 sc into ring. Pull tail snug. (6 sts)
Round 2: Work 2 sc in each st around. (12 sts)
Round 3: *1 sc in next st, 2 sc in following st.* Repeat around. (18 sts)
Round 4: *1 sc in next 2 sts, 2 sc in following st.* Repeat around. (24 sts)
Round 5: *1 sc in next 3 sts, 2 sc in following st.* Repeat around. (30 sts)
Rounds 6–8: Work 1 sc in each st around. (30 sts across 3 rounds, creating the rounded cap brim)
Round 9: *1 sc in next 3 sts, sc2tog.* Repeat around. (24 sts)
Fasten off with an invisible finish, leaving an 18-inch sewing tail.
Part 2: Embroidering French Knot Spots
Before stuffing the cap, thread your tapestry needle with Oatmeal Cream yarn. Embroider 8 to 12 whimsical French knots randomly across the top and sides of the red cap (bring needle up through cap, wrap yarn twice around needle, insert back down close to exit point, and pull gently snug). Weave in tails securely on the inside.
Part 3: The Underside Gills Disc
Using Oatmeal Cream yarn:
Round 1: Magic Ring, 6 sc into ring. (6 sts)
Round 2: 2 sc in each st around. (12 sts)
Round 3: *1 sc in next st, 2 sc in following st.* Repeat around. (18 sts)
Round 4: *1 sc in next 2 sts, 2 sc in following st.* Repeat around. (24 sts)
Fasten off leaving a short tail. This circular disc seals the bottom of the mushroom cap flat.
Part 4: The Weighted Stem & Final Assembly
Using Oatmeal Cream yarn:
Round 1 (Wide Base): Magic Ring, 6 sc into ring. (6 sts)
Round 2: 2 sc in each st around. (12 sts)
Round 3: *1 sc in next st, 2 sc in following st.* Repeat around. (18 sts)
Round 4 (Back Loops Only): 1 sc in BLO of each st around. (18 sts – creates a flat resting ridge)
Rounds 5–6: 1 sc in each st around. (18 sts)
Round 7 (Taper): *1 sc in next 4 sts, sc2tog.* Repeat around. (15 sts)
Rounds 8–11: 1 sc in each st around. (15 sts)
Pour 1 tablespoon of poly-pellets into the bottom of the stem for weight, then pack firmly with polyfill.
Assembly: Whipstitch the stem opening to the center of the gill disc. Firmly stuff the red cap with polyfill, place the gill disc over the opening, and whipstitch through both thicknesses using the red yarn tail.
3 Pro Tips for Cottagecore Woodland Makes
1. Use Back-Loop-Only for Flawless Flat Bases: Working Round 4 of the stem in the Back Loops Only (BLO) forces the fabric at a crisp 90-degree angle. This eliminates any rounding or wobbling on tables.
2. Blend Autumn Hues for Forest Clusters: Craft a cluster of 3 mushrooms using complementary earthy tones: rich crimson red, burnt pumpkin terracotta, and golden ochre mustard.
3. Add Natural Wooden Slices: Mount finished crochet mushrooms onto 3-inch natural birch or pine wood slices using a drop of non-toxic hot craft glue for an authentic forest-floor vignette.
Autumn Decorating & Living Ideas

- Fireplace Mantel Displays: Nestle clusters of mushrooms among velvet pumpkins, golden fairy lights, and autumn leaves for cozy evening ambience.
- Kitchen Tiered Trays: Add a handmade woodland accent to coffee bars and kitchen tiered islands next to artisan ceramic mugs.
- Festive Woodland Wreaths: Wire 2 to 3 crochet mushrooms onto a grapevine wreath alongside dried eucalyptus and cinnamon sticks.
Care & Storage Guidelines
- Cleaning: Dust lightly with a soft makeup brush or vacuum nozzle on low suction; spot clean with damp cloth if needed.
- Storage: Store between autumn seasons in a breathable cotton storage bin to protect fiberfill shape.
Frequently Asked Questions
Can I make smaller mini mushrooms for keychains or bag charms?
Yes! Use sport or DK weight yarn with a 2.5mm hook and work only through Round 4 of the cap (stopping at 24 stitches). This produces darling 2-inch mini mushrooms perfect for bag charms and backpack clips.
What is the best alternative to plastic poly-pellets for weighting?
Clean dried white beans, uncooked rice (if kept moisture-free), or small glass marbles placed inside a tiny scrap nylon stocking work wonderfully as eco-friendly weights.
Why is cotton yarn preferred over acrylic for this project?
Cotton maintains tight, firm stitch tension that does not stretch over time, keeping the mushroom cap perfectly spherical and preventing polyfill from poking through.
Pin This Pattern for Later
Love this cozy woodland craft? Save this pin to your Fall Crochet & Home Decor board on Pinterest so you have the free pattern ready whenever you want to decorate!