Few cold-weather accessories balance effortless boutique chic and cozy warmth quite like an ear warmer, and this crochet twist headband pattern free tutorial gives you a salon-worthy accessory in just 45 minutes. Featuring a stretchy knit-look ribbed texture and a focal turban twist at the center, this one-skein project makes bad-hair days feel effortlessly intentional while keeping your ears toasty through crisp autumn winds and snowy winter mornings.
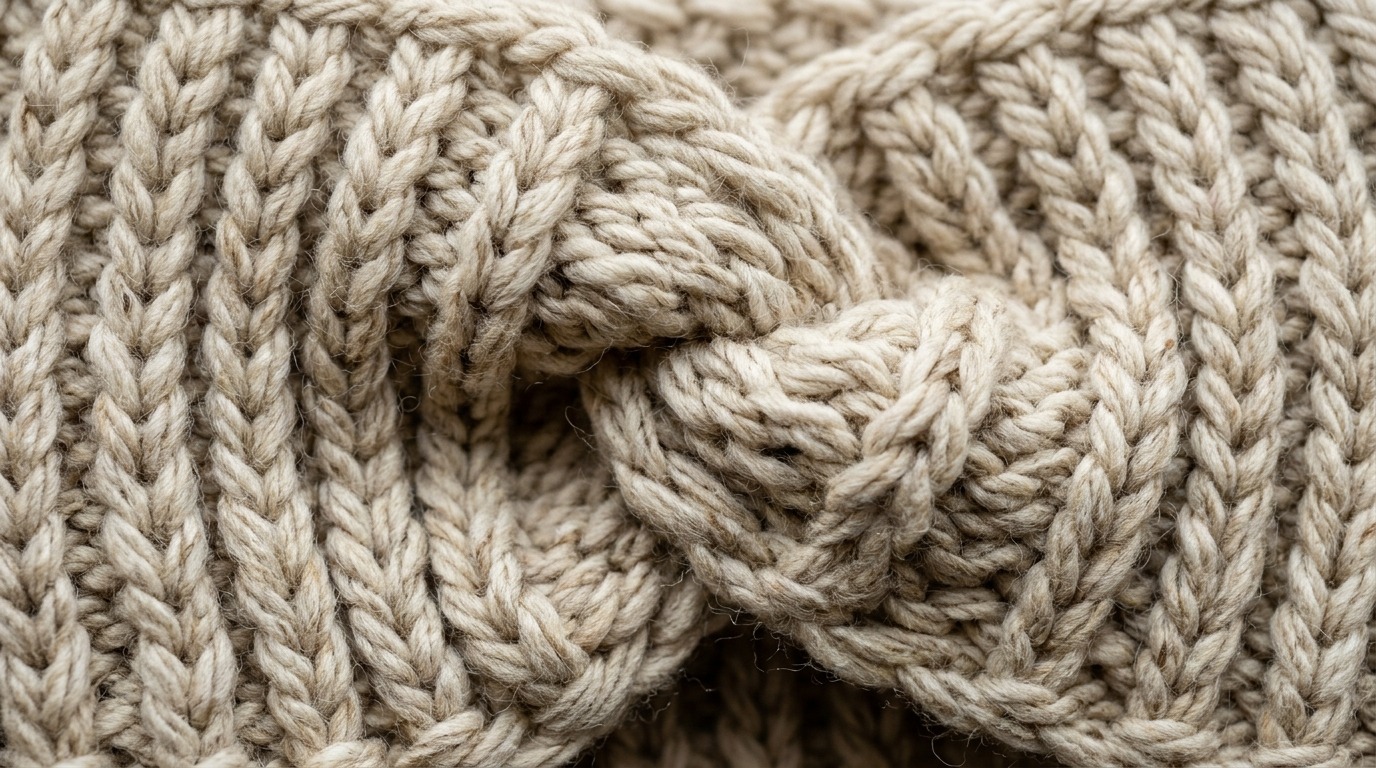
While that dramatic front knot looks intricate and complex, it is actually created with a clever seaming trick that requires zero difficult shaping! You simply crochet a straightforward flat rectangle working in the back loop only, interlock the two ends like folded sandwich layers, and seam straight across. Once you turn the band right side out, a perfect designer knot blooms like magic—making this an ideal confidence-building project for brand-new crocheters.
Why You’ll Love This Pattern
- 45-Minute Speedy Finish: Thanks to chunky #5 yarn and a simple repetitive row repeat, you can easily finish an entire ear warmer during a single movie.
- True One-Skein Wonder: Requires less than 90 yards of bulky yarn, making it a fantastic stash-buster and budget-friendly holiday gift choice.
- Knit-Look Elastic Ribbing: Working half double crochet into the third loop creates flexible, accordion-style ribbing that grips your head comfortably without squeezing.
- Messy-Bun Friendly: Unlike bulky beanies that crush your hairstyle, this open-top ear warmer lets you wear high ponytails and top knots freely.
Recommended Materials & Yarn Options

- Chunky / Bulky Weight Yarn (Category 5): 1 skein (approx. 85–100 yards) of soft wool or acrylic blend (such as Lion Brand Hue + Me, Charisma, or merino wool). You can also hold two strands of worsted weight yarn together!
- 6.5mm (US K-10.5) Ergonomic Crochet Hook: Gives the ribbing plush drape and generous stretch without stiff fabric rigidity.
- Tapestry Needle with Large Eye: Essential for sewing the thick 4-layer twist seam securely.
- Flexible Tape Measure: To measure head circumference accurately as you work.
- Debossed Leather Tag (‘YumYum’): A small tan faux-leather craft label gives the band an authentic bespoke boutique touch.
Step-by-Step Twist Headband Walkthrough
1. Foundation Chain & Row 1: Chain 16 loosely to set the headband width (approx. 4.5 to 5 inches wide). Half double crochet (HDC) in the 2nd chain from hook and in each chain across (15 HDC). Chain 1 and turn.

2. Working the Knit-Look Ribbing: For all subsequent rows: HDC into the back loop only (BLO) or third loop of each stitch across (15 sts). Chain 1 and turn. Repeat this single-row rhythm until the band measures 19 inches unstretched (approx. 48–52 rows for average adult women’s head size).
3. Fasten Off with Long Tail: Fasten off, leaving an 18-inch yarn tail for sewing the magic twist seam. Thread your tapestry needle.
4. Folding & Interlocking the Twist Seam: Lay your crocheted rectangle flat. Bring both ends together facing upward. Pinch each end in half horizontally into a ‘U’ shape. Interlock the two ‘U’ shapes together so the edges interleave like folded fingers (forming 4 alternating layers: Layer 1, Layer 2, Layer 3, Layer 4). Sew through all 4 layers back and forth twice to secure. Flip inside out to reveal the twist!
3 Pro Secrets for a Perfect Twist Headband
1. Catch All 4 Layers on Every Stitch: When sewing the twist seam, push your needle straight through all four layers of fabric on every pass. If you skip an inner layer, you will get an awkward loose hole right in the front center of your twist.
2. Aim for 2 Inches of Negative Ease: A cozy headband should be 1.5 to 2 inches smaller than your actual head circumference. If your head measures 21 inches, crochet your flat band to 19 inches. The elastic ribbing will stretch to hug your head snugly without sliding off.
3. Steam the Seam Flat: Before wearing, turn the band right side out and give the back of the twist knot a quick burst of steam from an iron or handheld steamer. This softens the seam thickness and makes the headband sit flush against your forehead.
How to Style Your Handmade Ear Warmer

- Winter Wardrobe Pairing: Pair with an oversized wool coat and our 1-hour chunky crochet infinity scarf for a matching handmade luxury ensemble.
- High Ponytails & Top Knots: The open crown design lets you keep long hair up in a messy bun or ponytail while keeping your ears and forehead completely shielded from freezing gusts.
- Casual Fall Walks: Wear with a quilted puffer vest and boots for outdoor weekend market trips, apple picking, and chilly dog walks.
- Thoughtful Handmade Gifts: Crochet three headbands in neutral cream, heather grey, and terracotta rust, bundle them with twine, and give them as teacher appreciation or stocking-stuffer gifts.
Washing & Fabric Care Instructions
- Gentle Hand Wash: Submerge in lukewarm water with a capful of no-rinse wool wash or gentle hair shampoo. Press out water gently without wringing or twisting.
- Drying Flat: Roll the headband inside a clean bath towel to absorb excess water, then lay flat on a dry towel to air dry completely.
- Seasonal Storage: Store in a drawer or breathable cotton bag alongside cedar balls or lavender sachets to protect the wool fibers from seasonal moths.
Easy Crochet Twist Headband (Ear Warmer)
By Elena Hayes • Category: Beginner Patterns • Skill Level: Easy / Beginner
Materials & Notions
- 1 skein (approx. 90 yds) Bulky #5 wool or acrylic yarn in Oatmeal Heather
- 6.5mm ergonomic wooden crochet hook
- Large-eye blunt tapestry needle
- Measuring tape & sharp scissors
- Optional: 1 debossed leather craft tag (‘YumYum’) & embroidery thread
Pattern Abbreviations (US Terms)
ch: chain | hdc: half double crochet | blo: back loop only | st(s): stitch(es) | sl st: slip stitch
Written Pattern Instructions
- Foundation Chain: Ch 16 loosely.
- Row 1: Hdc in 2nd ch from hook and in each ch across. Ch 1, turn. (15 hdc).
- Row 2 (Ribbing Setup): Hdc in BLO of each st across. Ch 1, turn. (15 sts).
- Rows 3–50: Repeat Row 2 until piece measures 19 inches unstretched (approx. 50 rows total).
- Fasten Off: Cut yarn leaving an 18″ tail, thread onto tapestry needle.
- The Twist Seam: Bring ends together. Fold each end into a ‘U’ shape and interlock them (A inside B, B inside A) forming 4 layers: [Layer 1, Layer 2, Layer 3, Layer 4].
- Sewing: Sew straight across through all 4 layers securely. Tie a knot, weave in ends, and flip right side out.
- Finishing: Sew leather ‘YumYum’ accent tag onto the lower edge beside the twist seam.
Frequently Asked Questions
How do I adjust this headband pattern for a child’s head?
For a toddler or child, chain 12 for a narrower 3.5-inch width, and crochet rows until the band measures 16.5 to 17.5 inches unstretched. The twist seaming technique remains identical.
Can I use worsted weight yarn instead of chunky yarn?
Yes! You can either hold two strands of worsted weight yarn together with the same 6.5mm hook, or use a single strand with a 5.0mm hook (in which case chain 22 stitches to achieve a 5-inch width).
Why does my headband feel too tight on my head?
Check your row count and tension. Stretchy ribbing needs moderate tension. If your finished rectangle is shorter than 18.5 inches before seaming, add 4 to 6 more rows to relieve tightness.
Pin This Pattern for Later
Love quick, cozy one-skein projects? Save this easy crochet twist headband pin to your crochet board on Pinterest so you can make it anytime!